14. KM-Screen Guide, Monitor on Roofrack
Assembly Instructions for Mounting Screens
Equipment Provided:
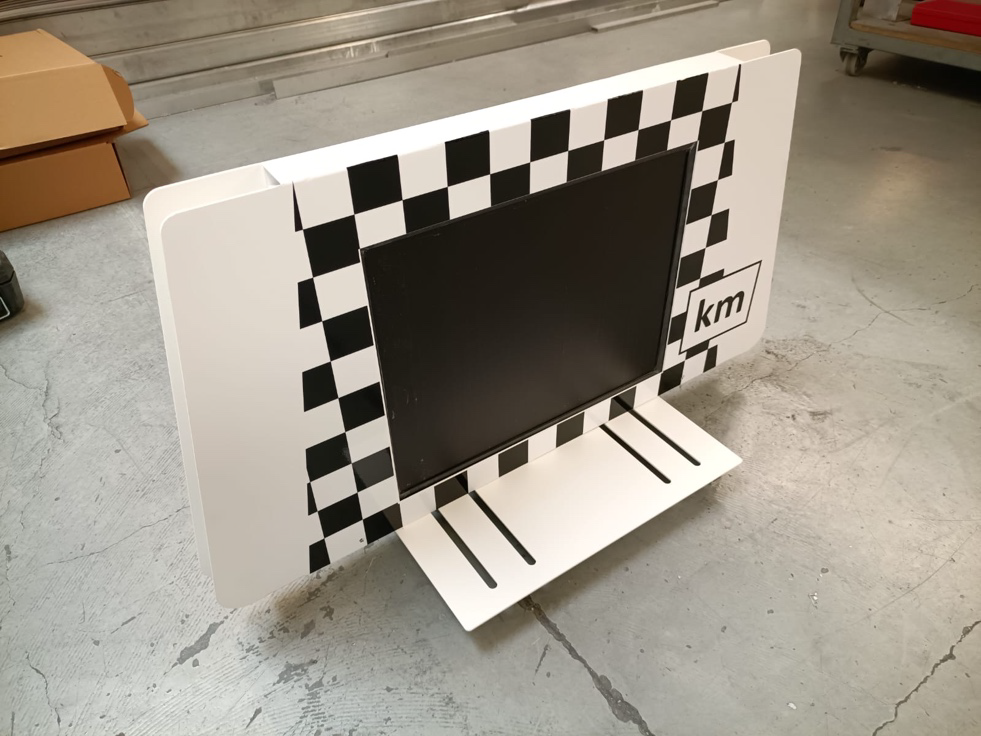
- 2 Screens (already fixed in housing)
- Cable set
- Power pack
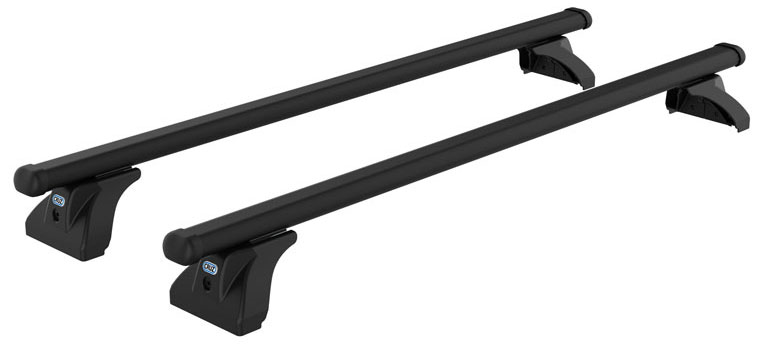
- Clamps and screws for mounting
- Note: You will NOT need to organize two pairs of standard roof rack braces. It’s the country’s responsibility.
Visual Guides:
Pictures of the screens, mounting process, and necessary hardware are attached for reference.
Requirement: make sure the OBU has the latest update.
Assembly Steps:
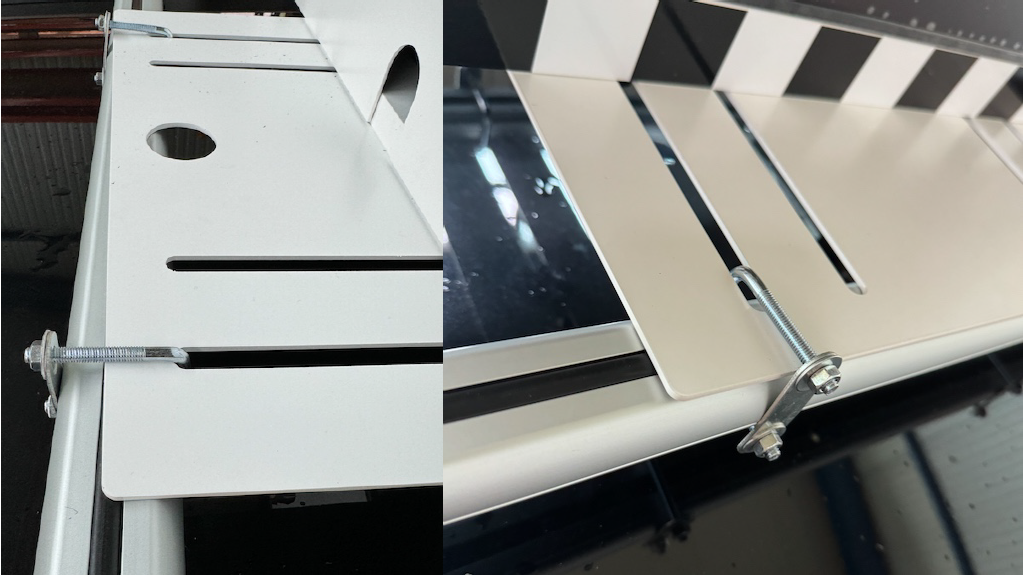
1. Prepare the Mounting Base:
Attach the base plate using the clamps provided along with the roof rack braces.
Front view:
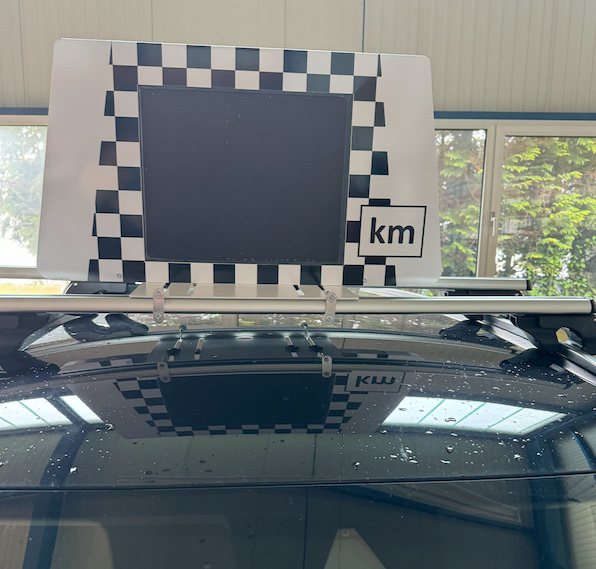
2. Installing the Screen
Mount the screen and housing onto the prepared base plate with the 4 plastic encased screws at the bottom of the screen. Ensure that the screen is mounted in front of the 'Blojo' and is visible from the front.
- Connect the HDMI & electricity cable to the external screen and the HDMI cable to the OBU. This year there will be no second notebook just for the KM Screen
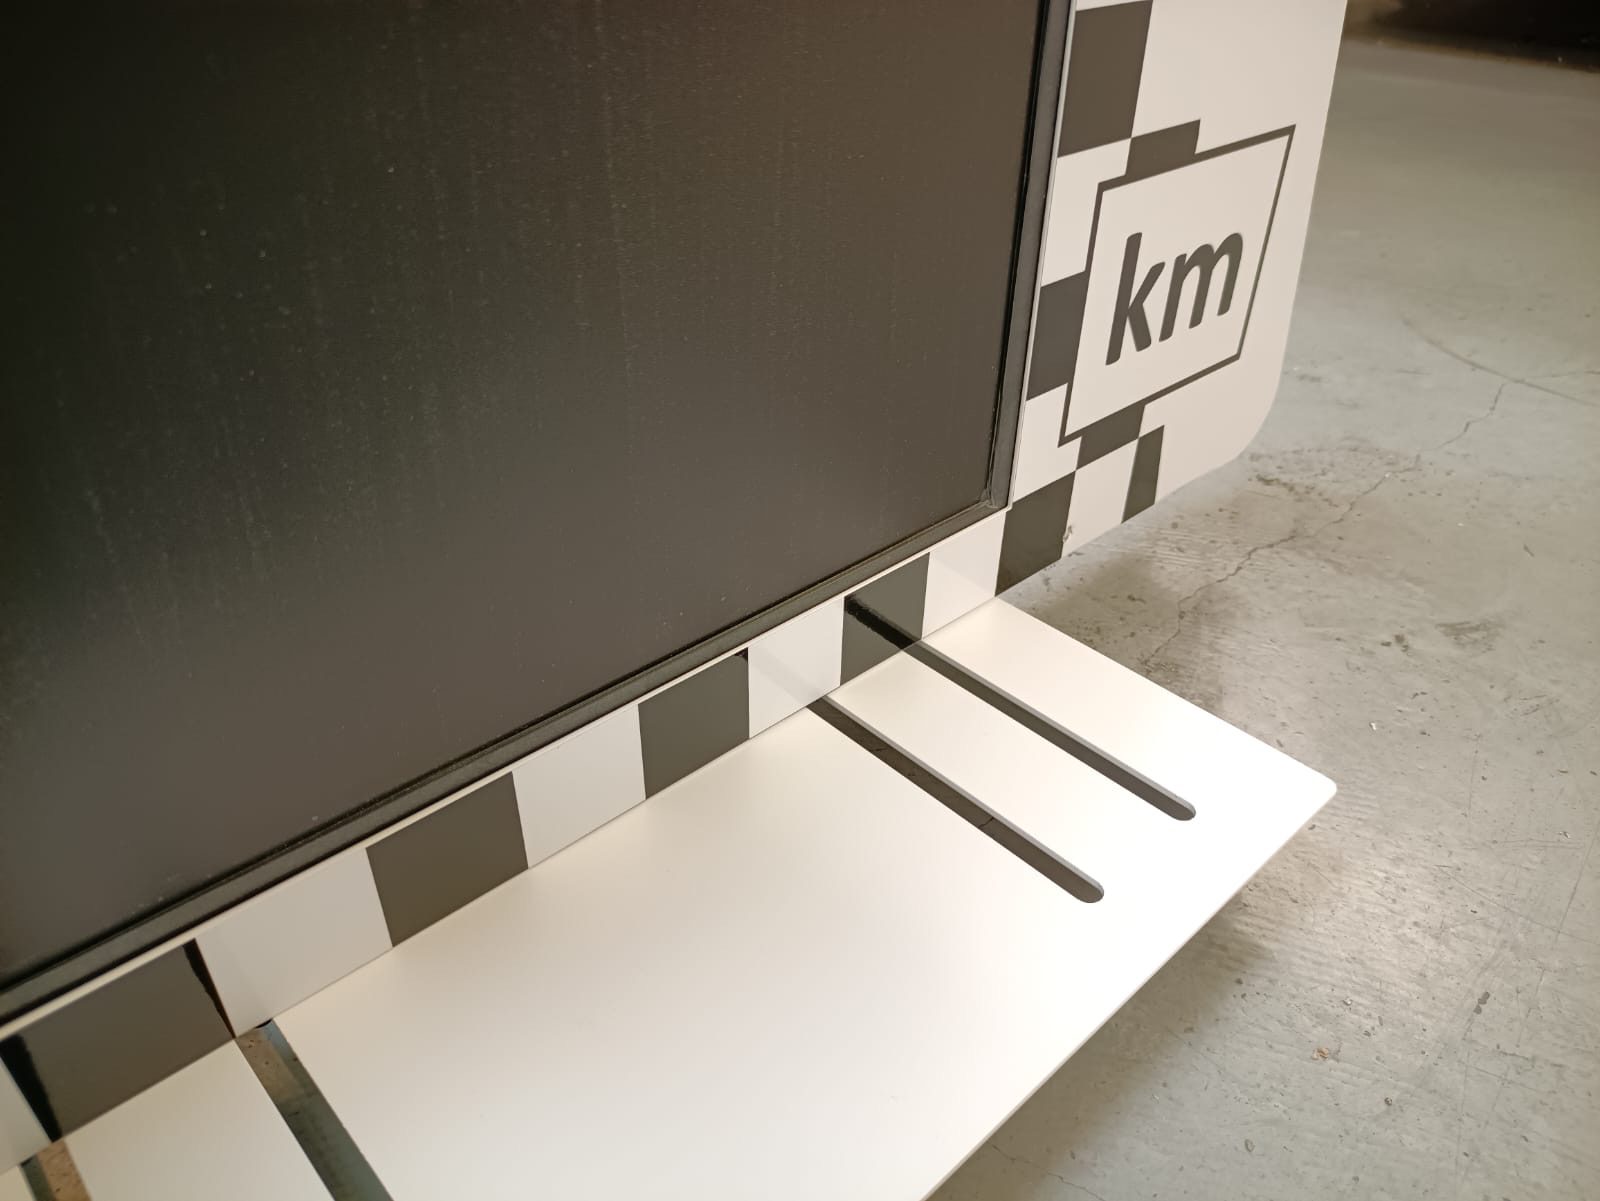
Guide the electricity cable through the holes so the cable management looks clean.
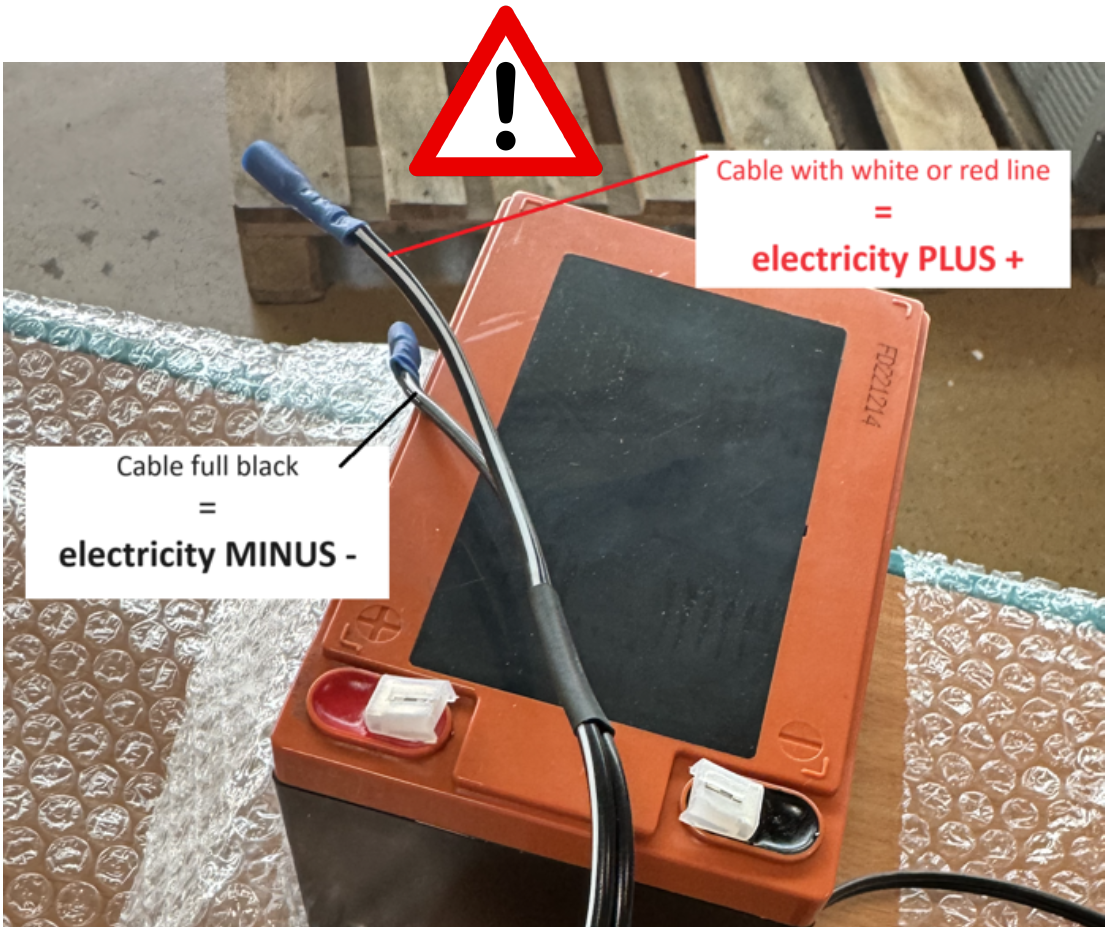
3. Connecting Power
These are special 12V monitors that do not require extra power from the car. Connect the screens to the external battery provided.
As soon as you connect the power, the monitor should turn on right away! You won’t need a remote.
Please ensure that the battery is not connected all the time. Battery power is limited, and external power supply is not easy to organize.
4. Final Setup
Ensure everything is securely fixed for safety reasons. Keep in close contact with your supervisor.
Connect the from RedBull provided monitor cables (HMDI-HDMI | DisplayPort-HDMI) to the OBU.
The monitor will only display KM if the OBU, it is connected to, has a GPS-FIX.